
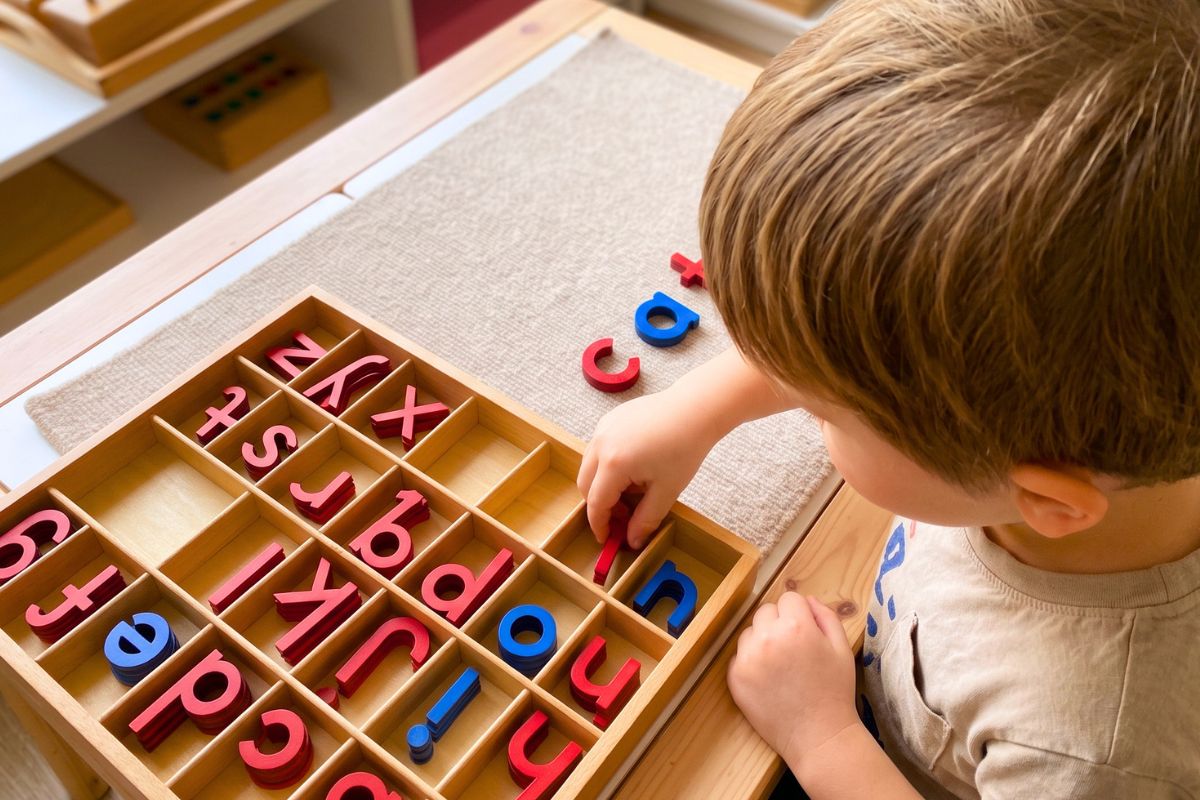
A four-year-old’s hand is genuinely not ready for a pencil the way a seven-year-old’s is. The small muscles and joints needed for sustained, controlled writing are still developing, sometimes for years yet. But the same four-year-old, who has spent months tracing sandpaper letters and playing sound games, is often bursting with words they want to spell out and cannot yet write down.
The movable alphabet solves exactly this mismatch. Loose wooden or cardstock letters the child arranges by hand to build words, entirely without a pencil, at the exact moment their mind is ready to spell even though their hand is not. Here is what it actually is, when to bring it in, how a real presentation goes, and how to build your own for a fraction of the cost of a wooden set.
What the Movable Alphabet Actually Is
The traditional Montessori movable alphabet is a set of loose lowercase letters, usually one or two wooden boxes with 26 compartments, holding multiple copies of every letter. Consonants are pink or red, vowels are blue, the same color coding used on the sandpaper letters that come before it. The letters sit in alphabetical order in their compartments so a child can find any sound quickly.
Why Writing Comes Before Reading
Maria Montessori observed something that still surprises new parents. Young children usually want to write before they show real interest in reading. Writing is encoding, taking a sound in your head and representing it with symbols, and it is a more natural first step than decoding, taking someone else’s symbols and turning them back into sound. The movable alphabet lets a child write, in every meaningful sense, years before their hand can manage a pencil.
When to Introduce It
The movable alphabet is not an age-based material so much as a readiness-based one. Most Montessori classrooms introduce it somewhere between 3.5 and 4.5 years old, and it depends entirely on what came before it, not the calendar.
How to Present It
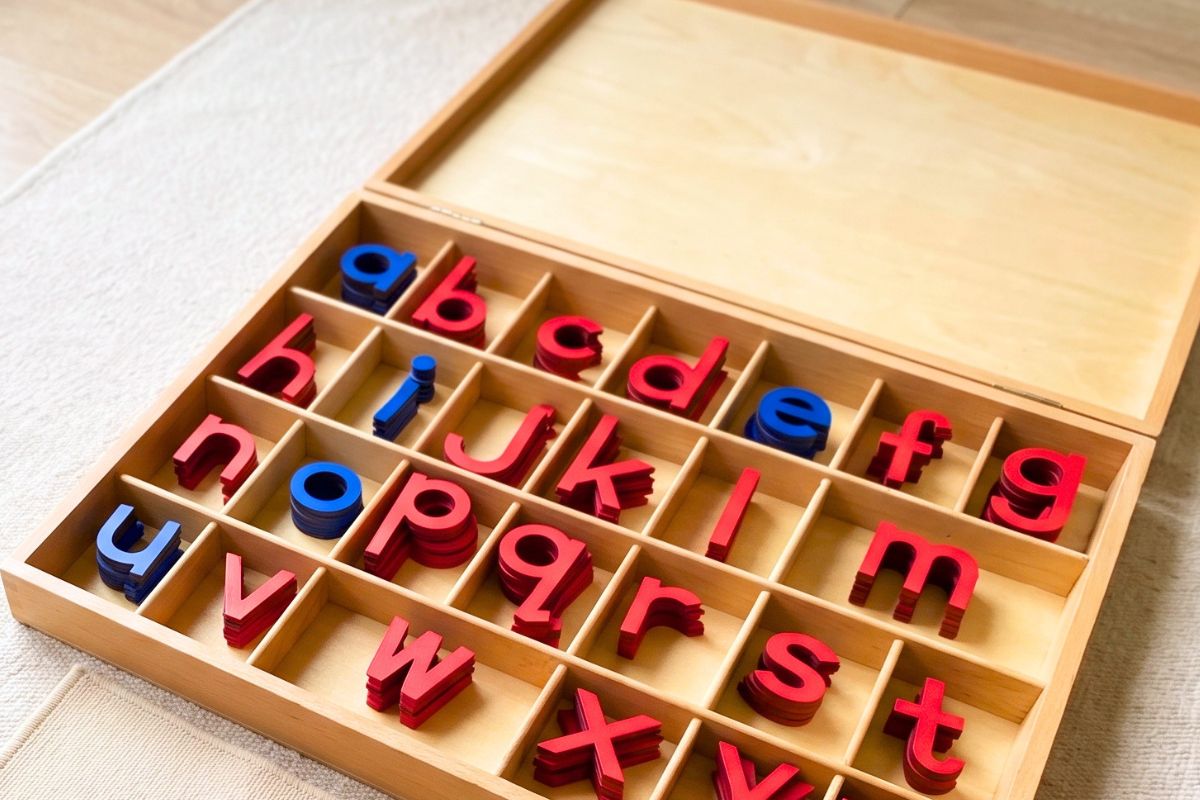
The first lesson with the movable alphabet is simple on purpose. It is about becoming familiar with the material itself before using it to actually spell anything.
1
Open the box and place the lid underneath it, so every compartment is visible.
2
Ask for a sound, not a letter name. “Can you find the sound /p/?” not “Can you find the letter P?”
3
If they hesitate, go back to the sandpaper letter for that sound first, trace it, then return to finding it in the movable alphabet.
4
Work through several letters this way until they find sounds confidently, without rushing to full words on day one.
5
End by sorting every letter back into its compartment together. Care of the material is part of the lesson, not an afterthought.
Once letter-finding is confident, word building begins. Say a simple three-sound word slowly, cat, dog, sun, and let the child pick out each letter in order and lay it on the mat. Real miniature objects that match the word, a tiny toy cat for “cat”, make the exercise concrete rather than abstract.
A few words the way the letters would lay out
Why It Is Self-Correcting
Like most Montessori materials, the movable alphabet is designed so the child can catch their own mistakes. A letter placed upside down or backwards simply does not match the shape the hand has been tracing on sandpaper letters for months. That mismatch, not a correction from an adult, is what tends to prompt the child to notice and fix it themselves.
Extensions Once the Basics Are Solid
- ●Object and word matching. A basket of small objects the child names, sounds out, and spells one by one.
- ●Blindfold sound matching. Identifying letters by touch alone reinforces the tactile memory built with sandpaper letters.
- ●Short phrases, then sentences. Once single words are easy, two or three words together, then a simple sentence with a full stop.
- ●Storytelling. An older child can build out a whole short story one sentence at a time, well before pencil writing feels comfortable for that length of work.
DIY: Make Your Own Movable Alphabet at Home
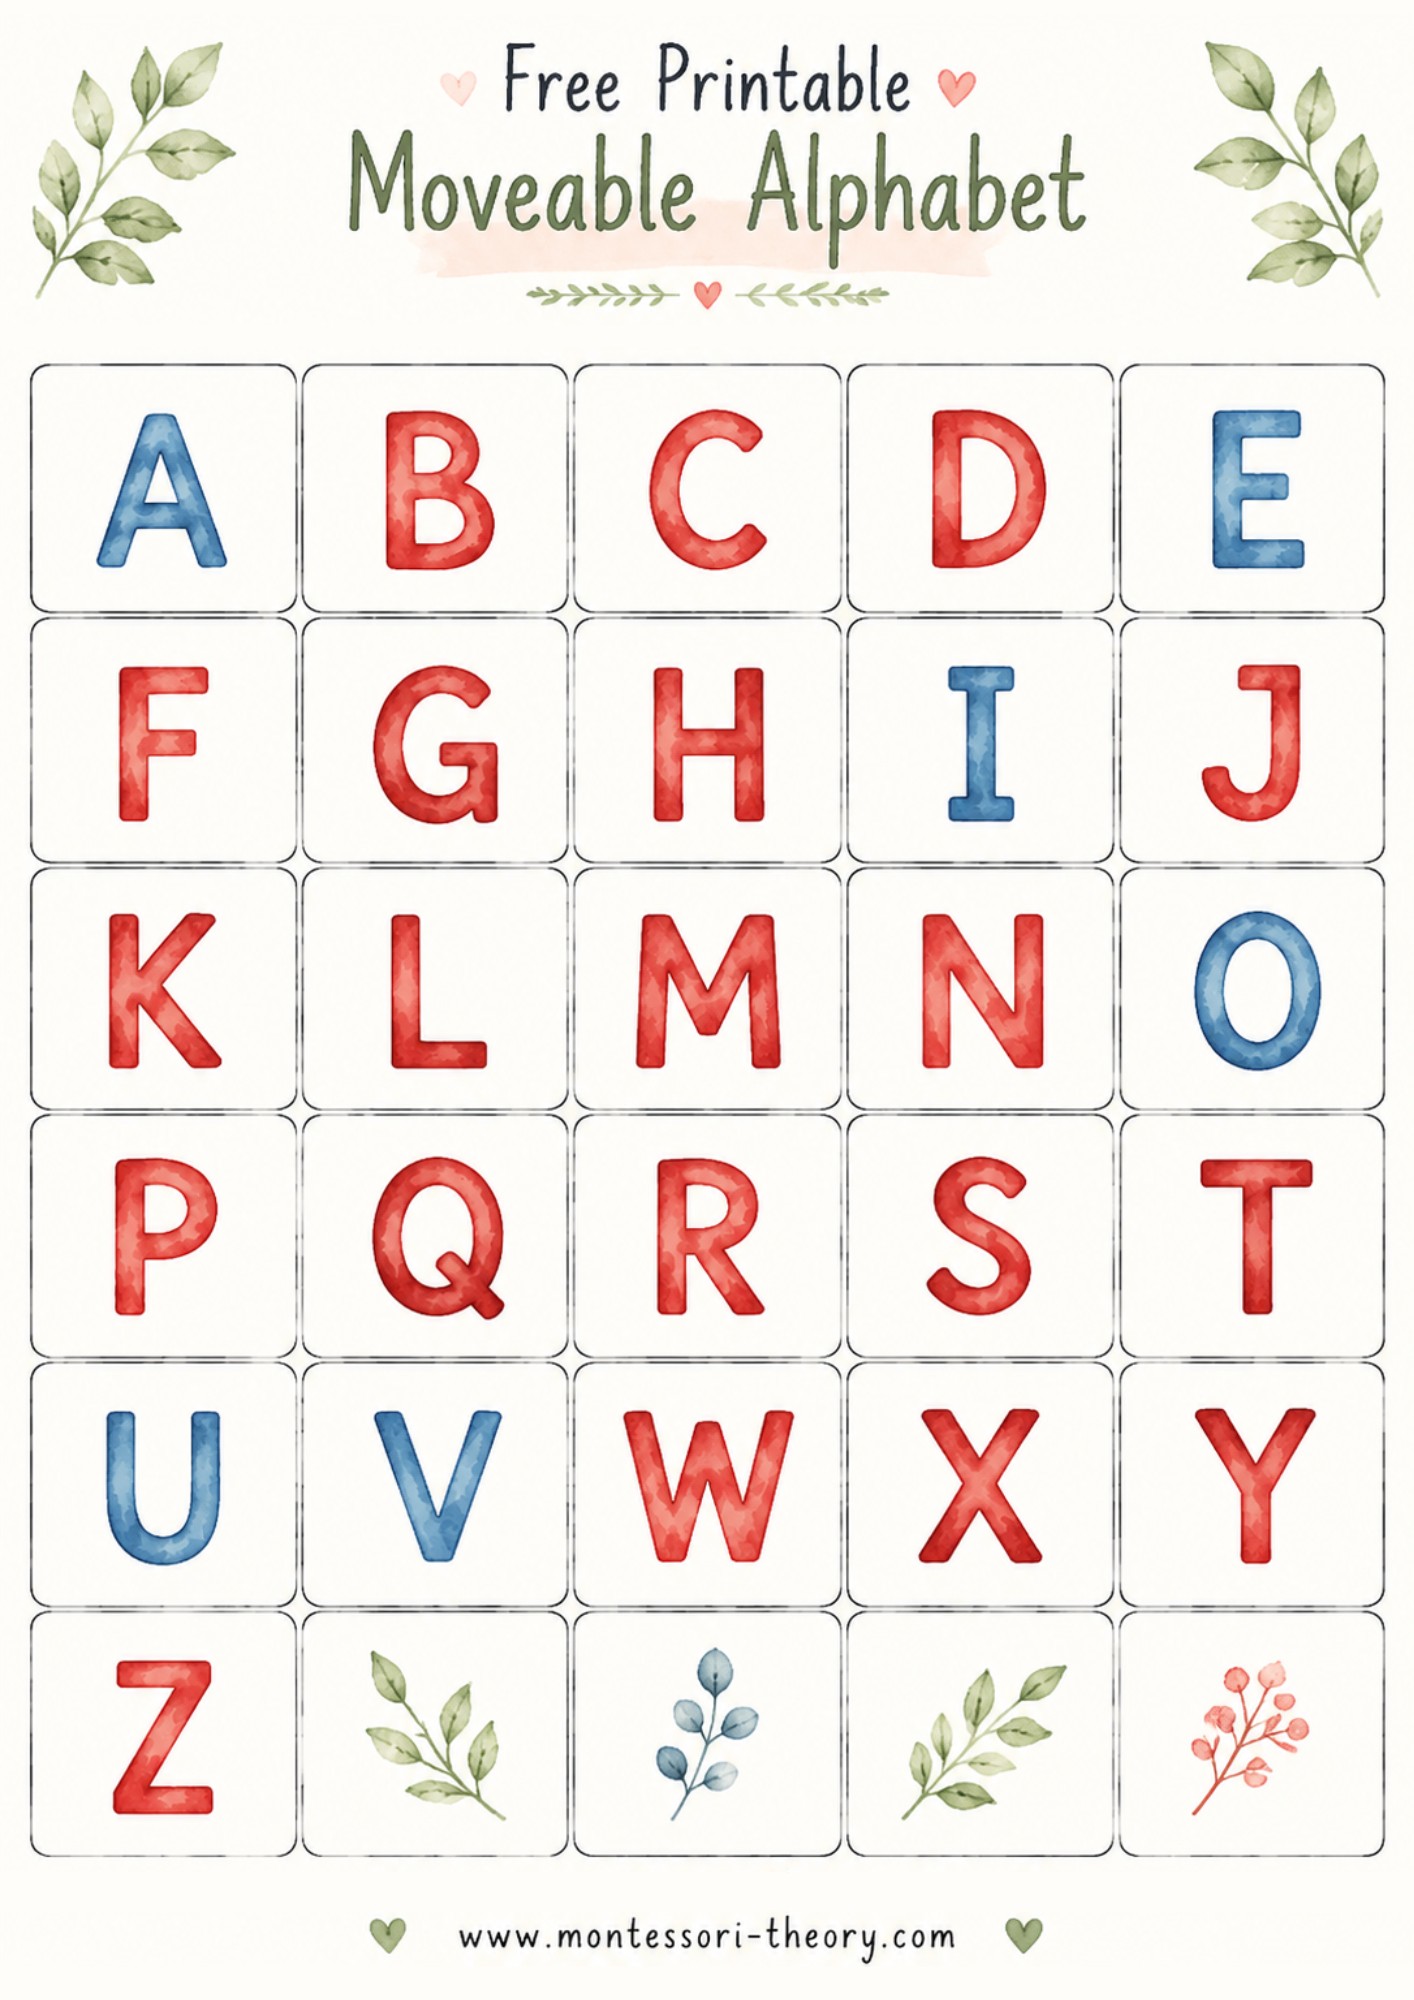
A traditional wooden movable alphabet can run well over a hundred dollars. Our own free printable version, shown below, gives your child the same phonetic word-building experience for the cost of a few sheets of paper and a bit of lamination.
1
Download our free printable above and print it on sturdy cardstock. It already comes color coded, red for consonants, blue for vowels, exactly matching the traditional wooden set.
2
Cut each letter along the guidelines. A paper cutter makes this much faster than scissors if you are printing a full set.
3
Laminate for durability, since these letters get handled constantly once a child starts using them.
4
Our printable gives one of each letter, which is enough to explore the material but not enough to spell most real words. Print the page 3 to 4 times, or reprint the vowel and high-frequency consonant rows (a, e, i, o, u, s, t, n, r, l) on their own to build up extra copies, so words with repeated letters are actually possible.
5
Sort into a compartmented container. A repurposed craft organizer, egg carton, or small labeled drawers all work well.
Where to Actually Build the Words
A small rug or placemat-sized mat gives just enough room to lay out a full word or short sentence, and it also marks out the workspace clearly so the child knows exactly where the activity lives while it is out.
Skip The Cutting And Printing Guesswork
Frequently Asked Questions
Does my child need to know the whole alphabet before starting?+
No. Most classrooms introduce it once a child knows around 16 to 20 sandpaper letter sounds, not all 26. The remaining sounds can be learned alongside the movable alphabet rather than before it.
My child spells phonetically but incorrectly, like “kat” for “cat”. Should I correct it?+
This is normal and expected at this stage. The movable alphabet is teaching phonetic spelling first, the direct sound-to-symbol link, not conventional spelling rules. Correct conventional spelling comes later, once the phonetic foundation is solid. Correcting too early can discourage a child who is doing exactly what the material is designed to teach.
Is a printable version really as good as the wooden one?+
For the core purpose, phonetic word building, a laminated cardstock set works just as well as wood. The wooden version has a nicer feel and lasts longer under heavy daily use, which matters more in a classroom with many children than in a single home. Keep the same color coding, pink or red for consonants and blue for vowels, and the learning value stays intact either way.
Writing Before the Hand Is Ready
The movable alphabet exists to close a gap most parents never think about, the gap between a child’s mind, which is often ready to spell and express long before age six, and their hand, which genuinely is not ready to hold a pencil for sustained writing yet.
Give the mind somewhere to go while the hand catches up. That is the whole idea, whether the letters cost a hundred dollars in wood or a few sheets of cardstock from your own printer.