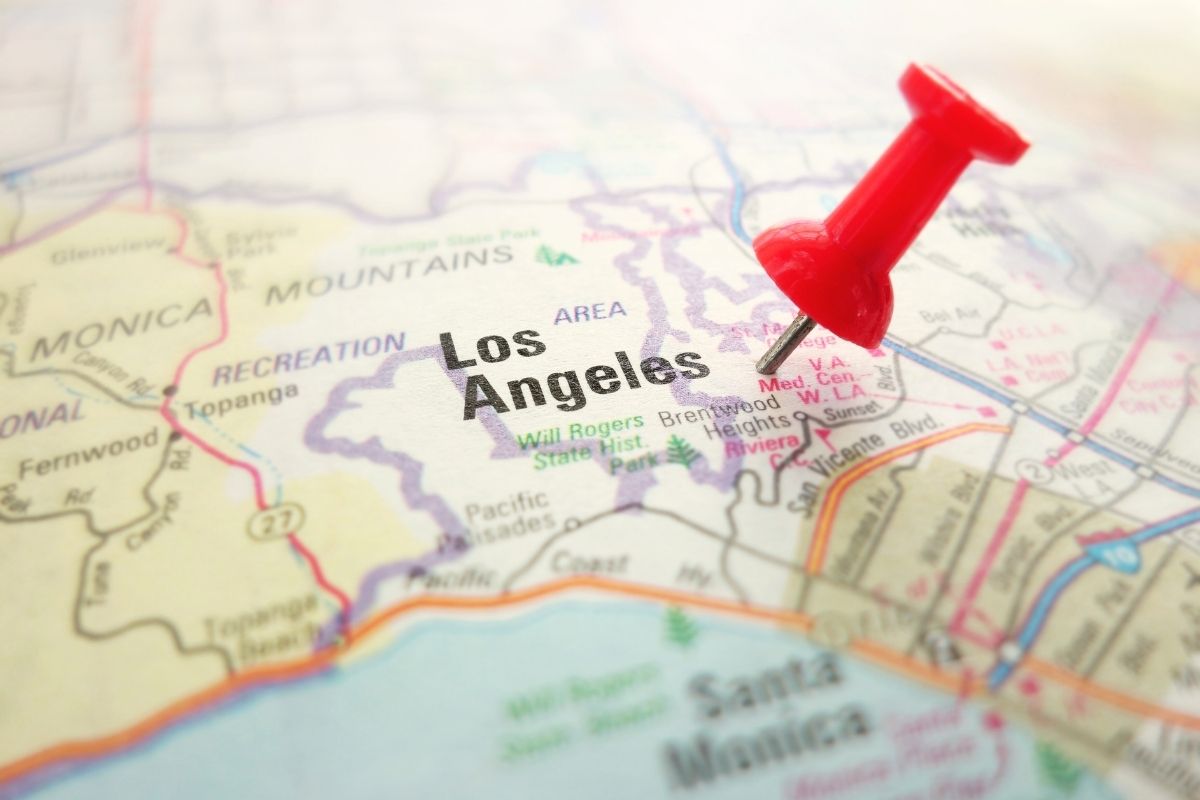
Montessori pin maps are an excellent tool for teaching geography, allowing children to engage in hands-on learning. However, purchasing a complete set can be quite expensive. Fortunately, with a bit of creativity and effort, you can create your own Montessori pin maps at home. Here’s a step-by-step guide based on various insights.
Montessori Geography: A World of Exploration
Montessori’s geography is a unique blend of hands-on exploration and experiential learning. Rooted in Dr. Maria Montessori’s philosophy, this approach seeks to ignite a child’s natural curiosity about the world around them. Through specially designed materials, children are introduced to the vastness of the universe, the intricacies of our planet, and the diverse cultures that inhabit it. From sandpaper globes to intricately crafted wooden puzzle maps, Montessori geography materials are more than just educational tools; they are gateways to understanding and appreciating the world in all its splendor.
How To Make a Montessori Pin Map
Materials Needed
- Cork Boards or Foam Core Boards: These will serve as the foundation for your maps, providing a sturdy base for pinning.
- Printable Maps: Websites like geology.com and mapswire.com offer a plethora of free maps. Opt for physical maps that delineate the world and its continents, preferably highlighting country boundaries.
- Toothpicks or Small Pins: These will act as the pins for marking locations.
- Map Labels: While there are printable versions available online, crafting your own allows for customization.
- Colored Pens or Permanent Markers: These are essential for marking, labeling, and adding details.
- Atlas or Online Maps: These serve as references. Renowned options include the Usborne Geography Encyclopedia and the DK Smithsonian Children’s Illustrated Atlas.
- Tracing Paper: Useful for tracing intricate details of continents and countries.
- Scissors, Tape, and Double-Sided Tape: Essential for cutting, fixing, and attaching components.
Step-by-Step Creation of Your Montessori Geography Pin Map
- Choose Your Maps: Start by selecting the maps you want to work on. For instance, if you’re focusing on Europe, choose a detailed map of Europe.
- Prepare the Base: Attach your chosen map to the cork board or foam core board. Ensure it’s securely fixed.
- Marking the Points:
- Use your atlas or online maps as a reference.
- Make large red dots approximately where each capital city is located. Ensure each dot is larger than a toothpick in diameter.
- Add large black dots for placing the names of the countries.
- Mark major bodies of water with blue dots. If your map outlines major rivers, that’s a bonus!
- Creating the Labels:
- Print two copies of each map on card stock to use as control maps.
- Use free materials or create your own labels in a program like Microsoft Word.
- Cut the labels, fold them in half, and use double-sided tape to attach them to the toothpicks. Ensure the labels are securely attached.
- Poking Holes: Once your map is dry, use a toothpick to poke holes in each of the dots on the map. This will make it easier for children to place the pins.
- Storing the Pins: Store the pins in a container when not in use. This keeps them organized and prevents them from getting lost.
- Using the Pin Map: Encourage your child to place the pins on the map, matching the labels to the correct locations. Provide a control map for reference.
Tips:
- When drawing navigation lines, like the equator or tropics, use a straight edge or ruler to ensure straight lines.
- Engage your child in the creation process. It can be a fun and educational activity.
- Start with larger continents or countries and move to smaller ones for ease of creation.
Creating your own Montessori pin map can be a rewarding experience. Not only does it save money, but it also provides an opportunity for hands-on learning and engagement. With patience and creativity, you can create a valuable educational tool that will benefit your child for years to come.


