Did you have a blast making that batch of DIY Kinetic Sand? Well, hold onto your creative spark because today, we’re making the simplest air-dry clay recipe ever – a fantastic alternative to playdough that encourages creativity and learning.
That’s right, just 3 non-toxic household ingredients and a sprinkle of imagination are all you need to transform your ideas into adorable figurines, stunning jewelry holders, or even festive ornaments.
Why This Clay Rocks
- Super-Duper Easy: No fancy equipment or complicated steps involved. This recipe is perfect for crafters of all ages, especially little ones who are eager to get their hands dirty (in a good way!).
- Kitchen Cabinet Staples: Chances are, you already have everything you need in your pantry! Baking soda, cornstarch, and water – that’s all it takes to whip up a batch of creativity.
- Affordable Fun: Skip the expensive store-bought clay and create endless possibilities without breaking the bank.
- Air-Dry Magic: Let your masterpieces harden naturally, or speed up the process with a quick baking session.
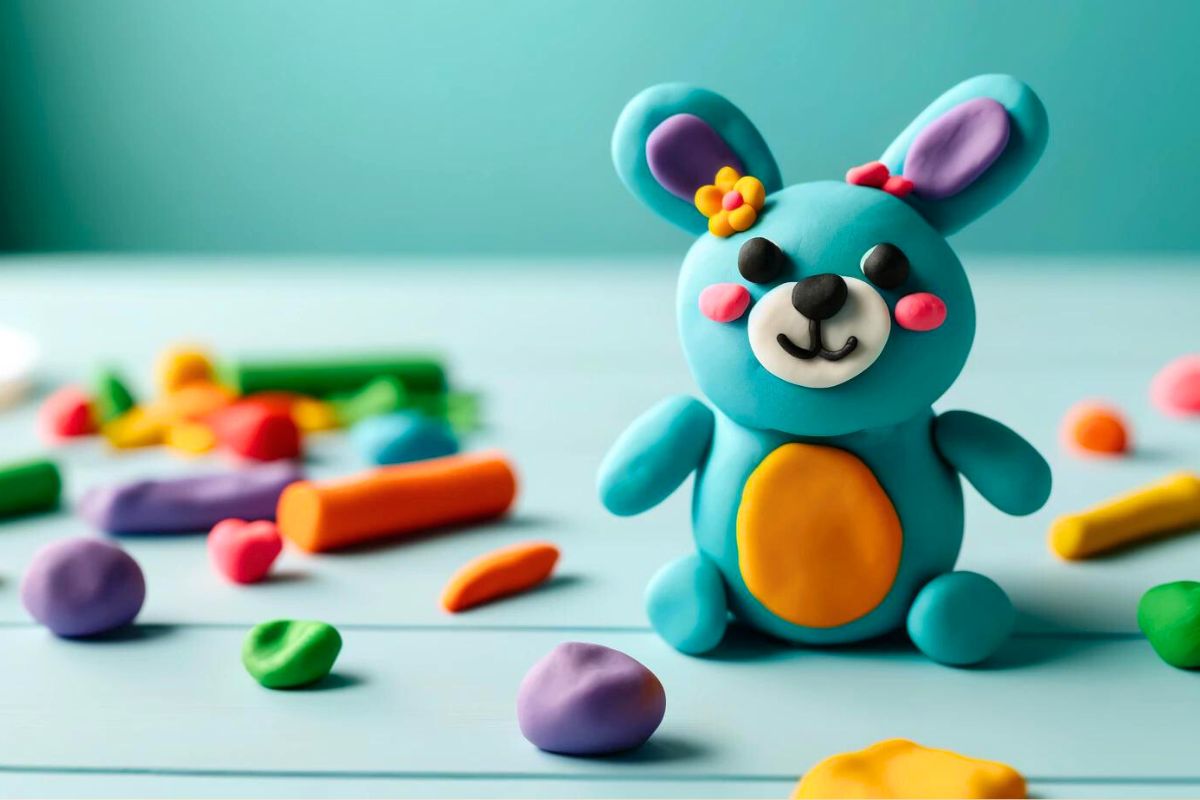
- Endless Inspiration: The possibilities are truly endless! From sculpting miniature animals to crafting personalized gifts, this clay is your blank canvas for creative expression.
The DIY 3-Ingredient Clay Recipe
So, Grab Your Ingredients and Let’s Get Crafting!
What you’ll need
- 1 cup Baking Soda (the fizzy stuff in your fridge!)
- 1/2 cup Cornstarch (keeps things smooth and moldable)
- 3/4 cup Water (the key ingredient in all things awesome)
Now, the Fun Part: Making the Clay!
- Cook Up Some Clay Magic: In a pot, combine your baking soda, cornstarch, and water. Stir it all together like a science experiment gone delicious (but don’t eat it!).
- Heat It Up (But Not Too Hot!): Place the pot on low heat and keep stirring constantly. You’re looking for a “mashed potato” consistency – thick and easy to work with. Once it reaches this stage, take it off the heat immediately. Don’t overcook it or your clay dreams will turn into crispy crumbles!
- Cool Down and Craft On!: Let your clay masterpiece cool down in a bowl or spread it out on a baking sheet. Once it reaches room temperature (think comfy for your hands), it’s playtime!
Here’s the Bonus Round
- Need it Faster? Air dry your creations for 3-5 days. Impatient? Bake them in a low oven (200°F) for 1-1.5 hours, flipping halfway through.
- Feeling Colorful? Add a splash of food coloring to the water before mixing for a vibrant clay masterpiece.
- Leftovers Got You Down? Wrap unused clay in plastic wrap and store it in an airtight container. It’ll stay happy for up to 2 weeks!
Crafting Time!
- Feel the Texture: The clay should be soft and moldable, but not sticky. If it sticks, a light dusting of cornstarch on your work surface will do the trick.
- Roll it Out: Use a rolling pin to create a flat sheet of clay, perfect for cookie cutter creations or sculpting.
- Get Shaping: Let your imagination run wild! Mold the clay into any shape you desire – animals, figurines, ornaments, the sky’s the limit!
Age Appropriateness
This homemade 3-ingredient wonder clay is perfect for children of all ages, though adult supervision is recommended for younger crafters (think toddlers!). As children get older, they’ll gain more independence and be able to explore the clay’s potential in more detail.
So grab your supplies, unleash your creativity, and get ready to sculpt something amazing – all while nurturing your child’s development through the magic of Montessori learning!
A Perfect Fit for Montessori Learning
This easy DIY clay recipe aligns perfectly with the Montessori philosophy, which emphasizes hands-on learning and sensory exploration. This homemade modelling clay hits all the right notes!
- Develop Fine Motor Skills: Kneading, shaping, and rolling the clay strengthens the small muscles in the hands and wrists, which are crucial for later tasks like writing and manipulating utensils.
- Boost Creativity and Imagination: The open-ended nature of clay play allows children to express themselves freely and bring their ideas to life.
- Enhance Problem-Solving Skills: As children experiment with different shapes and techniques, they learn to solve problems and overcome challenges.
- Sensory Play: The act of mixing, squishing, and shaping the clay engages a child’s sense of touch, promoting fine motor skill development.
- Open-Ended Creativity: There are no limitations! From sculpting animals to building miniature worlds, the possibilities are endless, encouraging imaginative play.
- Focus and Concentration: The process of shaping the clay helps children develop focus and concentration, key skills for future learning.
Let the Creativity Flow!
This easy-peasy homemade clay recipe is the perfect starting point for countless crafting adventures. So, gather your little Picassos, turn on some tunes, and get ready to create a world of wonder – all with just 3 simple ingredients!