Feeling stifled by the high cost of art supplies? Does your child’s creativity need a breakout zone? Fear not, because with a little DIY magic, you can transform a humble cardboard box into a launching pad for artistic expression!
In just a few steps, this mighty cardboard easel will morph from a forgotten box into an adjustable canvas for masterpieces.
So, grab your cardboard crown, gather your crafting supplies, and prepare to witness the birth of an artistic empire… all built on the foundation of upcycled cardboard!
Transform Your Recycling into an Instant Art Station
Materials
- Large cardboard box (ideally 18″ x 18″ x 16″ but any size will work)
- Ruler
- Pencil
- Cutting tool (craft knife or box cutter)
- Duct tape
- Sticky back velcro (optional)
- Masking tape (optional)
- Paints or decorations (optional)
Instructions
1. Prepare the Cardboard
- Begin by laying the cardboard box flat.
- Use the ruler and pencil to mark cutting lines. You want to cut off the top and bottom flaps of the box. Save these for future art projects if you’d like!
- Next, on the longer sides of the box, carefully cut down two adjoining sides to create two hinged pieces. Essentially, you’re cutting a vertical line up the middle of one long side, stopping about 3-4 inches from the top and bottom.
2. Create the Easel Stand
- Take a long piece of duct tape, roughly 26 inches long. Secure one end of the duct tape to the bottom of one of the cardboard pieces.
- Fold the duct tape over itself, creating a hinge, and then secure the other end of the tape to the bottom of the second cardboard piece. This will allow the two cardboard pieces to stand upright and adjust to different angles.
3. Stability and Adjustability (Optional)
- Here’s where you can customize your easel for added stability or adjustability.
- Stability: If you’re concerned about the easel tipping over, you can use masking tape to secure the bottom of the easel to a flat surface like a table.
- Adjustability: For more control over the angle of the easel, you can add a piece of velcro to the duct tape hinge and another piece to one of the cardboard pieces. This allows you to create a more secure hold at different angles.
4. Personalize Your Easel (Optional)
- Now comes the fun part! You can decorate your cardboard easel with paint, markers, stickers, or any other embellishments you like. This is a great opportunity to let your creativity shine!
Tips
- If you’re using a smaller cardboard box, adjust the measurements accordingly.
- Consider using thicker cardboard for a sturdier easel.
- You can use binder clips or clothespins instead of velcro to attach paper to the easel.
- For a more finished look, cover the cardboard with decorative paper or fabric before assembling the easel.
- If you’re looking for a moldable art medium to use with your easel, try making some homemade clay;
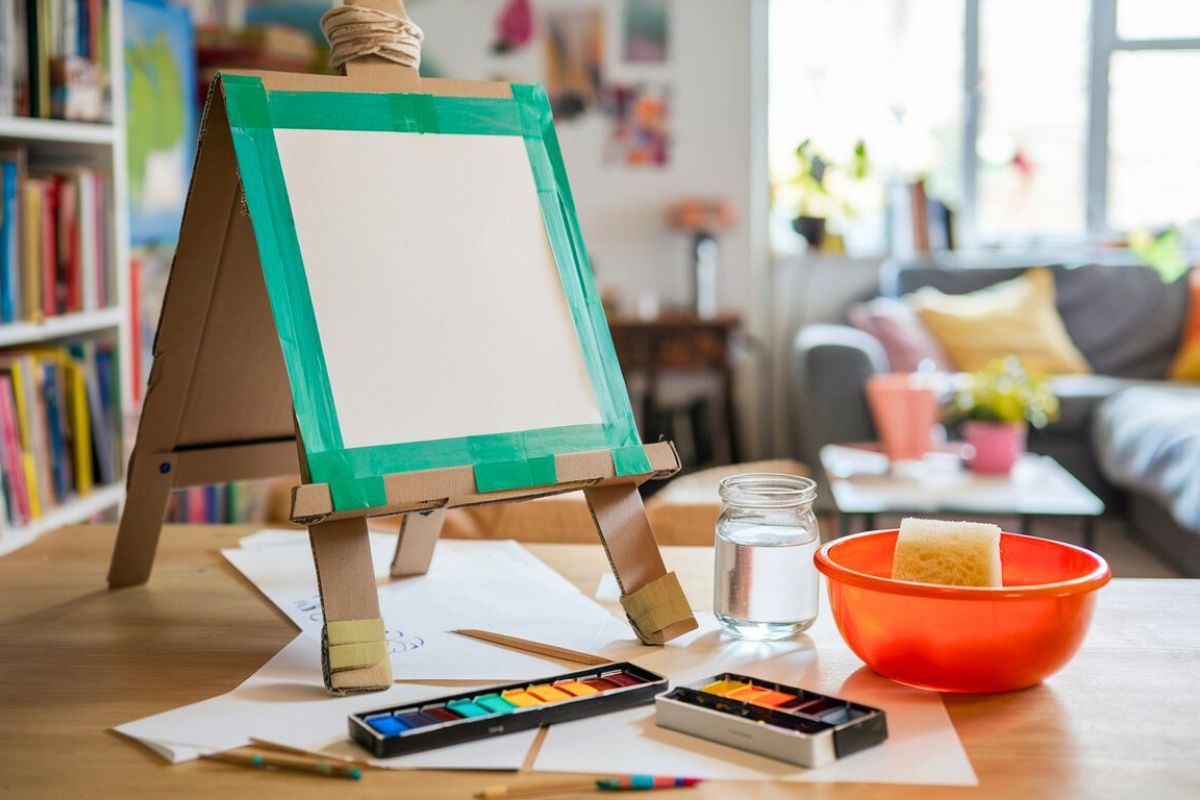
Recycle & Create Your Own Cardboard Easel
With this simple DIY project, you’ve created a fantastic upcycled art station! This cardboard easel is perfect for:
- Kids’ art projects: Let your children unleash their creativity with a dedicated art space, perfect for painting, drawing, sculpting with homemade clay, or creating other artistic endeavors.
- Art Parties: Set up multiple easels for a fun and interactive art gathering, where guests can experiment with different mediums like taste-free kinetic sand, homemade clay, and more!
- Displaying Artwork: Use the easel to showcase your finished creations, or your child’s masterpieces.
This project is a great reminder that you don’t need expensive materials to be creative. With a little imagination and some recycled cardboard, you can create a functional and fun art tool. So grab your cardboard box and get started on your DIY easel today