The Montessori method, renowned for its emphasis on hands-on, experiential learning, has revolutionized the way children interact with educational materials. One such tool, the Montessori globe, plays a pivotal role in introducing young minds to the vast expanse of our planet. Taking this philosophy a step further, crafting a DIY Montessori globe can be both an educational and fulfilling project. Not only does it allow parents and educators to customize the globe to better suit their child’s learning needs, but it also provides an opportunity for children to be directly involved in the creation process, enhancing their connection to the material.
Why DIY Montessori Globes?
Before diving into the crafting process, it’s essential to understand the value of a DIY approach. Firstly, creating a Montessori globe at home is cost-effective. Instead of investing in expensive store-bought versions, parents and educators can utilize readily available materials, ensuring affordability without compromising on quality.
Moreover, the DIY approach offers unparalleled customization. Whether it’s adjusting the globe’s size or choosing specific colors, the power to tailor the globe to a child’s unique learning needs lies in your hands. And let’s not forget the joy of involving children in the creation process, enhancing their connection to the material and fostering a deeper understanding of geography.
The Dual Role of Sandpaper and Colored Montessori Globes

Montessori globes are ingeniously designed to cater to both tactile and visual learners. Let’s delve into how these two distinct features play a pivotal role in a child’s geographical education:
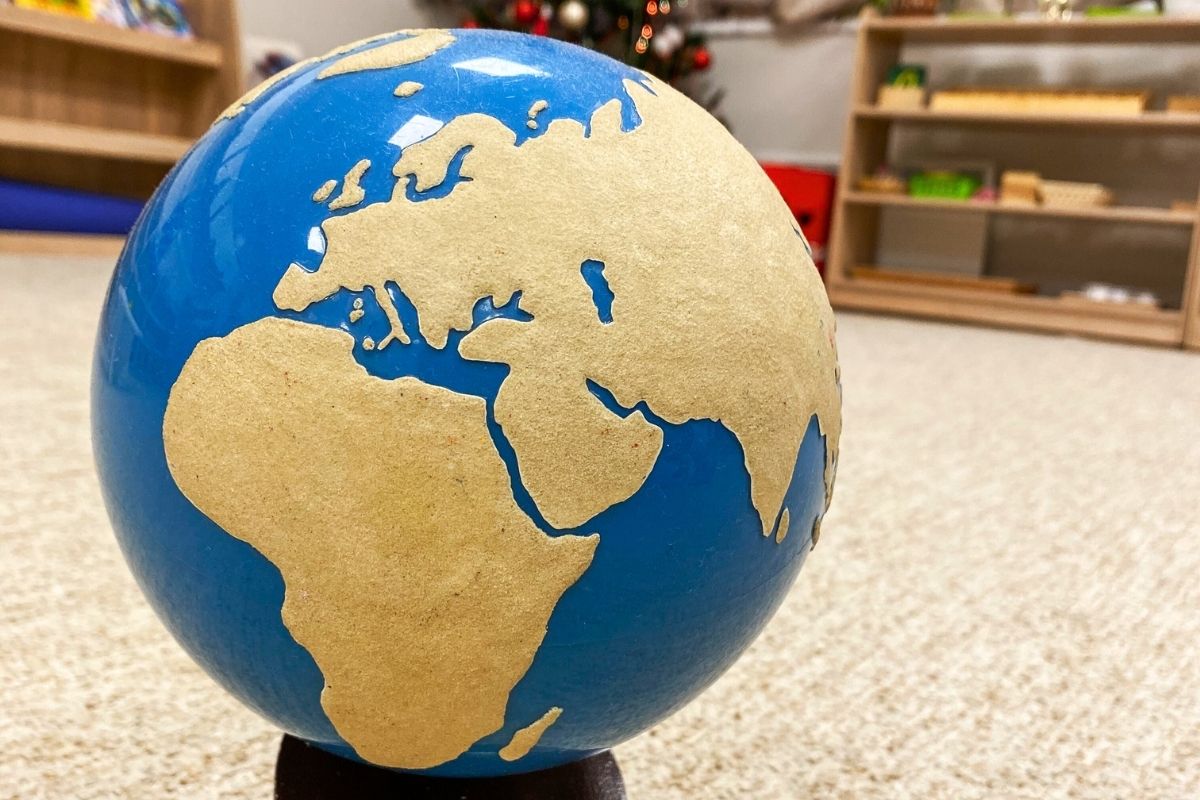
Sandpaper Globes – Tactile Learning
- Offers a hands-on experience, enabling children to physically feel the distinctions on the globe.
- The rough texture of the sandpaper represents landmasses, providing a tangible way to understand continents.
- The smoother portions of the globe symbolize water bodies, allowing children to differentiate between land and sea.
- This tactile approach is foundational in the initial phases of Montessori geographical education.
Colored Montessori Globes – Visual Learning
- Uses distinct colors for each continent, catering to the visual aspect of learning.
- For instance, vibrant hues like orange might represent North America, aiding in easy recognition.
- The consistent color-coding across Montessori materials ensures seamless correlation and memory retention.
By seamlessly integrating tactile sensations from sandpaper with the visual cues of color-coding, Montessori globes provide a holistic, multi-sensory learning journey, enabling children to solidify their geographical understanding through both touch and sight.
How to Make a Montessori Sandpaper Globe
Materials Needed:
- An old or inexpensive globe
- Sandpaper (of varying grits for tactile differentiation)
- Non-toxic, water-based paints
- Brushes or sponges
- Clear sealant (to ensure longevity)
Step-by-Step Guide to Create a DIY Montessori Globe:
- Preparation: Start by cleaning the globe, ensuring a smooth surface free from labels or stickers.
- Sandpaper Application: Adhere sandpaper cutouts to areas representing land. This tactile feature allows children to feel the difference between continents and oceans.
- Painting: Dive into the world of colors! Paint each continent following the Montessori color scheme or get creative by involving your child in the color selection process.
- Labeling: Once the paint dries, label the continents, countries, or oceans. Use a fine-tipped marker or printed labels for clarity.
- Sealing: To protect your masterpiece, apply a clear sealant. This step ensures the globe withstands regular use, remaining a valuable learning tool for years.
Incorporating Montessori Color Codes
Color plays a significant role in Montessori geography. Each continent is assigned a specific color, making recognition and memorization a breeze. For instance, North America is typically represented in orange, while Africa shines in green.
By consistently using these color codes across various Montessori materials, children can seamlessly connect the dots between their Montessori globe, puzzle maps, continent map and other geography tools. Moreover, for those who might find the tactile distinction of sandpaper challenging, these color codes can act as an effective alternative, ensuring that the learning process remains inclusive.
Advanced DIY Montessori Globe Ideas
While the basic globe serves its purpose, there’s always room for enhancement. Here are some advanced ideas to enrich your DIY Montessori globe:
- Topographical Features: Add raised areas to represent mountain ranges or indentations for deep-sea trenches.
- Interactive Elements: Incorporate flags or markers to highlight countries, capitals, or significant landmarks.
- Day-Night Simulation: Integrate lights to showcase the earth’s rotation, distinguishing between day and night.
How to Use Your Own Montessori Globe at Home?
Creating a DIY Montessori globe is a rewarding experience, but the real magic begins when you start using it as a learning tool at home. Here’s how you can make the most of your handcrafted globe:
- Introduce the Globe Gradually: Begin by simply placing the globe in a space where your child frequently spends time. This passive introduction allows them to become familiar with its presence and naturally piques their curiosity.
- Hands-on Exploration: Encourage your child to touch and feel the globe. The tactile difference between the sandpaper continents and the smooth oceans will help them distinguish between land and water. Ask open-ended questions like, “What does this rough part feel like?” or “Can you find the smooth parts?”
- Color-coded Continents: Use the colors on your globe to introduce the different continents. You can say things like, “This orange part here is North America,” guiding them through each continent and reinforcing the association between the color and the continent’s name.
- Storytelling: Narrate short, engaging stories about different parts of the world. For instance, talk about animals native to Africa or festivals celebrated in Asia. This not only enhances geographical knowledge but also introduces cultural awareness.
- Interactive Games: Play simple games like “Find the Continent” where you name a continent, and your child points it out. As they become more familiar, you can also introduce countries and major landmarks.
- Incorporate Other Learning Materials: Use the globe alongside other Montessori materials like pin maps or landmark cards. For instance, show them a picture of the Eiffel Tower and ask them to point to the continent it’s located in.
- Daily Discussions: Make it a routine to discuss one geographical fact during meal times or before bed. It could be about a country’s cuisine, a famous river, or even about the people and their traditions.
- Track Family and Friends: If you have family or friends living in different parts of the world, use the globe to show your child where they are. This personal connection makes the learning experience more relatable and memorable.
- Expand with Books: Pair the globe exploration with age-appropriate books about different countries, cultures, and landscapes. Reading together can provide a deeper context to what they see on the globe.
- Celebrate Learning: Every time your child learns something new or correctly identifies a continent or country, celebrate their achievement. This positive reinforcement boosts their confidence and encourages further exploration.