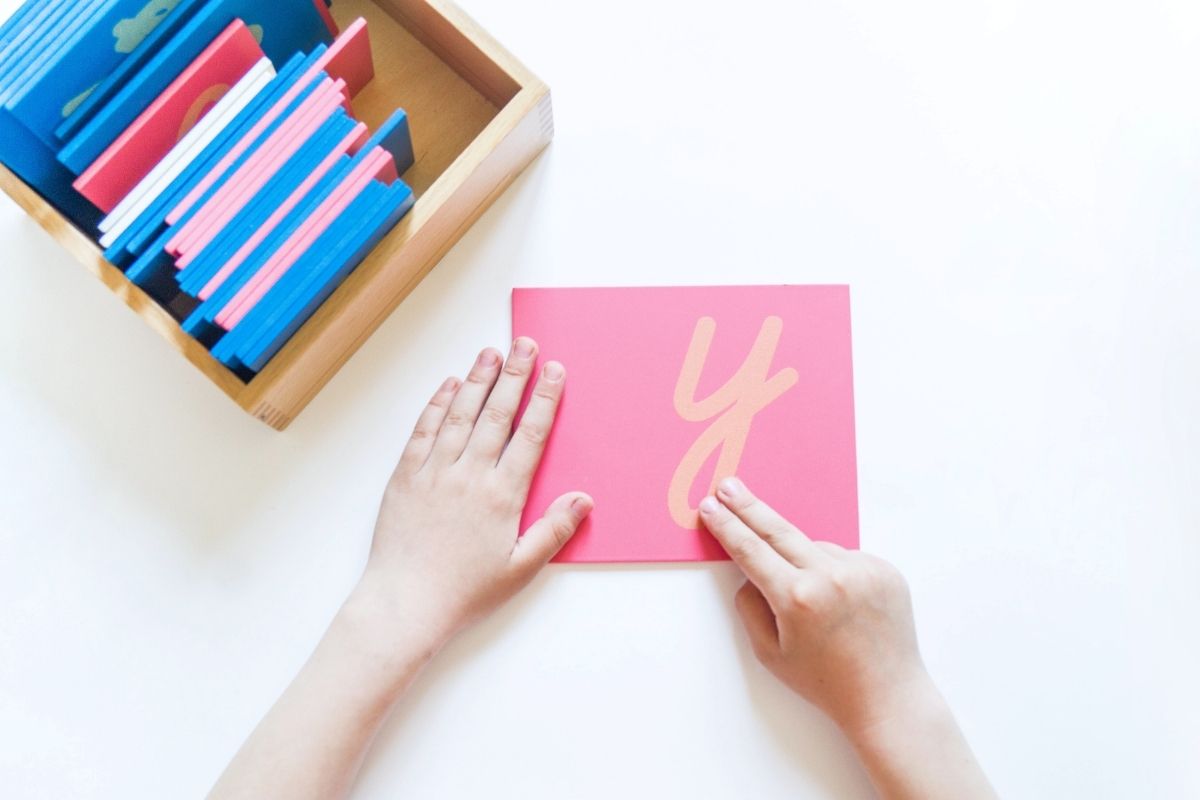
Imagine little fingers tracing the textured outlines of letters with their fingertips, leaving impressions not just on paper but in your child’s mind itself. That is the magic of Montessori sandpaper letters; an ageless educational tool which empowers young children to master alphabet through multisensory exploration. Dive deeper into this guide for Montessori sandpaper letters so your early literacy learning journey becomes an enjoyable adventure!
Key Takeaways
- Multi-sensory magic: These tactile letters engage sight, touch, and sound, making learning the alphabet fun and effective.
- Early literacy boost: They build a strong foundation for reading and writing by solidifying letter recognition and sound-symbol association.
- Fine motor skills development: Tracing the sandpaper textures strengthens muscles and prepares hands for writing.
- Confidence builder: Independent exploration fosters a sense of accomplishment and encourages further learning.
- Timeless tools: Used for generations, these versatile letters are ideal for both home and classroom environments.
The Montessori Approach and Sandpaper Letters
Dr. Maria Montessori, a pioneer in child education, championed the power of engaging all senses for optimal learning. This philosophy blossomed into textured treasures that invite little fingers to trace not just letters, but numbers too. These multi-sensory companions solidify letter recognition through touch, complementing hearing and sight to build a strong foundation for reading and writing.
How Montessori Sandpaper Letters Are Created
Montessori sandpaper letters can be produced by adhering cutouts of sandpaper made into letter shapes to a smooth wood tile surface, while their rough surface adds contrast with smooth surfaces and allows you to draw shapes easily using fingertips, while attuning to each individual character for each letter shape.
-
Different Types and Sizing
Educational tools offered by Montessori primary education materials come in both lowercase and uppercase letters for optimal teaching purposes, though uppercase letters tend to be introduced earlier for easier grasp by children in early years education programs. Lowercase letters often become necessary once children advance beyond these initial teaching stages as writing abilities increase further. Each letter cut is proportionate with how much writing the child engages with over time.
-
Vowels and Consonants
The two primary varieties of letters found within an alphabet – vowels and consonants – are taught differently depending on the approach a classroom takes to their instruction. Montessori classrooms commonly utilize sandpaper letters, with blue representing vowels and red or pink representing consonants, for easier identification by children of their roles in making sentences and words. This provides a solid basis for language acquisition.
How to Introduce Sandpaper Letters to Children

Sandpaper letters offer an engaging multi-sensory way for young learners to build stronger links to memory for ease of progression in learning. Teachers would familiarise children with letters and shapes before reading aloud the sounds associated with each letter while drawing cutouts out of sandpaper for them to follow along with. Eventually children become proficient enough with them that learning becomes effortless!
Presentation Order
Instead of overwhelming young minds, Montessori sandpaper letters are introduced in carefully sequenced groups of three. This order focuses on contrasting sounds and hand movements, making subsequent letter recognition easier. For example, the initial group (c, m, a, t) introduces distinct sounds and shapes, laying the groundwork for mastering similar ones later.
For maximum impact and optimal learning results, introduce these alphabets sequentially:
- c, m, a, t
- s, r, i, p
- b,f,o,g
- h,j,u,l
- d,k,e,n
- q,v,w,x,y,z
This order aims to help children learn contrasting sounds through phonetics and hand movements first, then recognize letters with similar sounds easier after mastering that first sound/motion combination (/m/ for instance) then understanding /n/ becomes less confusing due to their similarities.
Preparation
- Choose a consistent script that aligns with the elementary school system for smooth transition.
- Display ledges enhance accessibility and visual learning compared to boxes.
- Observe children’s Practical Life and Sensorial work for dexterity and focused attention.
- Ensure familiarity with all sounds in the dominant language before introducing letters.
- Most children learn all letters in about a month with consistent practice.
- Use the Three Period Lesson with individual presentations at first, transitioning to groups later.
- Regularly revisit previously learned letters and provide extra support when needed.
- Choose contrasting letters in shape and sound for presentations.
- Repeated tracing and sound association strengthen both visual and kinesthetic memory.
- Present different letters to different children to maintain individual interest.
Three Period Lesson
-
1st Period (Individual)
- Invite the child and sensitize your fingers.
- Choose three contrasting letters (including a vowel).
- Introduce each letter verbally, highlighting personal connections if possible.
- Demonstrate tracing the letter while saying its sound (3 times).
- Have the child trace and say the sound (3 times).
- Repeat with the remaining letters.
-
2nd Period (Group of 3)
- Repeat the introduction with 3 children and their assigned letters.
- Ask each child to identify and trace their letter(s), passing it around for others to trace and say the sound.
- Collect and place the letters face down.
-
3rd Period (Group of 3)
- Present at least 9 letters face up.
- Encourage multiple tracings by each child while saying the sound.
- Collect and place the letters face down.
- Repeat until all letters are covered.
Sandpaper Letters Extensions
- Trace the letter in the air with the child saying the sound.
- Trace the letter on the child’s back with them saying the sound.
- Trace the letter in the child’s palm and have them fetch the corresponding letter.
Control of Error
The rough texture of the sandpaper provides immediate sensory feedback to the child as they trace the letters. If their fingers slip or stray from the correct path, the child can feel the difference and make adjustments, promoting self-correction and refining fine motor skills.
Remember
- Keep it fun and engaging! Choose activities that match your child’s age and interests.
- Encourage independent exploration. Let your child discover the wonders of sandpaper letters and numbers at their own pace.
- Celebrate every achievement! A simple “Yay!” or a high five goes a long way in building confidence.
Montessori Sandpaper Letters Are Timeless Teaching Tools
Montessori Sandpaper Letters have long been recognized for their role in aiding literacy development among generations of children. Thanks to its multisensory approach and versatility, Sandpaper letters serve as an accessible method of introducing alphabet letters while setting the foundation for successful language acquisition and growth. Exposed children benefit from enhanced fine motor skills development along with early awareness of phonemic sounds which prepares them better for writing/reading later on in life.