The Montessori method, renowned for its hands-on and child-centered approach, offers a plethora of activities designed to stimulate a child’s senses and cognitive abilities. One such activity that stands out is the use of color tablets. These tablets, primarily a sensorial tool, are crafted to help children differentiate between various shades of colors, thereby refining their visual senses. If you’re keen on introducing this activity at home, here’s a step-by-step guide to creating your own Montessori color tablets.
Montessori Color Tablets Purpose
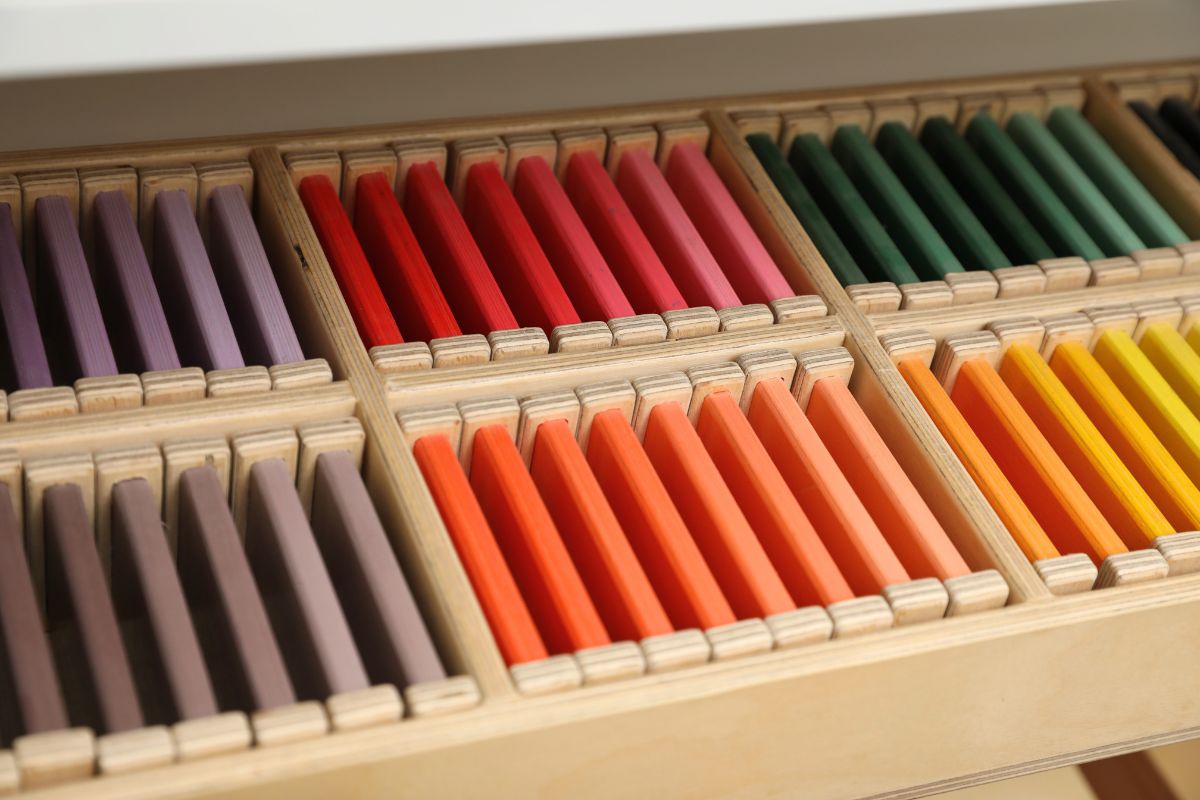
Montessori color tablets serve a dual purpose. Not only do they introduce children to the world of colors, but they also train their eyes to discern subtle differences in shades. This activity is not just about recognizing colors; it’s about understanding the nuances of each shade, which can be a delightful and educational experience for young minds.
Montessori Theory: Turbocharge Your Child's Future Success (eBook)

- Unlock Your Child's Potential: Master Montessori secrets for unstoppable learning.
- Nurture Independence & Respect: Foster independence and a lifelong love of learning with Montessori principles.
- Stage-Specific Strategies: Support continuous growth for every developmental stage.
- Montessori at Home: Practical tips to create the best Montessori-inspired home environment and playroom.
DIY Montessori Color Tablets Benefits
- Cost-effective: Crafting your own color tablets is not only budget-friendly, but it also sidesteps the markups of branded educational tools. Plus, there’s an unmatched value in using tools you’ve personally created, enhancing the learning experience.
- Personalization and Creativity: DIY offers unparalleled customization. Tailor the tablets to your child’s unique interests, choose materials that align with your values, and let your aesthetic preferences shine through.
- Bonding Activity: The creation process is a shared journey. It’s an opportunity for memorable moments, hands-on learning, and instilling values like hard work and resourcefulness. Making the tablets together can strengthen the bond between parents and children, turning education into a cherished shared experience.
- Eco-friendly Option: Going DIY allows you to make environmentally conscious choices. You can opt for sustainable materials, reduce waste by repurposing items, and avoid the plastic and packaging that often come with store-bought products.
- Adaptability: As your child’s learning progresses or interests change, DIY tablets can be easily modified or expanded upon. Whether it’s introducing new colors, textures, or even incorporating other sensory elements, having made them yourself means you can adapt them without starting from scratch.
Materials and Creation Process
-
Selecting Paint Color Samples
Start by obtaining paint color samples from a nearby hardware store. Look for samples that offer at least seven distinct shades of a specific color. These will serve as the primary colors for your tablets.
-
Trimming and Preparation
After acquiring the samples, trim them to fit your chosen base, which could be wooden tablets or another flat surface. The goal is to present each shade of color clearly and attractively.
-
Securing the Colors
Once trimmed, use a strong adhesive to affix the color samples to the tablets. Make sure they’re securely attached to endure frequent use by inquisitive young learners.
DIY Color Tablets Montessori Step-by-Step

1. Preparing the Materials
- Objective: The foundation of your color tablets starts here. Properly sized and uniformly cut squares ensure that the child’s focus remains on the color and not on any irregularities in shape.
- Procedure:
- Measure the desired size for each tablet. A standard size might be 2×2 inches, but you can adjust based on preference.
- Using a ruler and pencil, mark out the squares on your cardboard or wooden sheet.
- Carefully cut along the marked lines using scissors (for cardboard) or a saw (for wood).
- Sand the edges (if using wood) to ensure they are smooth and safe for children.
2. Choosing the Colors
- Objective: The colors you choose will be the primary learning tools for your child. It’s essential to select a range that offers both simplicity and variety.
- Procedure:
- Begin with primary colors: red, blue, and yellow. These are the building blocks of color understanding.
- As you progress, consider adding secondary colors like green, orange, and purple.
- For advanced learning, tertiary colors and shades can be introduced.
3. Crafting the Tablets
- Objective: This step brings color to your tablets, making them visually appealing and ready for learning.
- Procedure:
- Lay out all your cut squares on a flat surface.
- Cut the paint swatches or colored paper slightly smaller than the squares to leave a border, which can help in durability.
- Apply a thin, even layer of non-toxic glue to the back of the swatch or paper.
- Press it onto the square, ensuring it’s centered. Smooth out any bubbles or wrinkles for a flat finish.
4. Sealing (Optional)
- Objective: To protect the color and enhance the tablet’s longevity.
- Procedure:
- Once the glue has dried, apply a thin layer of clear sealant over the colored square. This can be a spray or brush-on sealant.
- Ensure you’re in a well-ventilated area if using sprays.
- Allow the sealant to dry as per the manufacturer’s instructions.
5. Drying
- Objective: To ensure all materials set and the tablets are ready for use.
- Procedure:
-
- Place the tablets in a flat area where they won’t be disturbed.
- Allow them to dry for at least 24 hours, ensuring the glue and sealant have set completely.
Advanced DIY Tips for Montessori Color Tablets
-
Exploring Gradients
Understanding the nuances of color can be a fascinating journey for children. When crafting DIY Montessori color tablets, consider introducing gradient color tablets. By starting with a base color and creating tablets that progressively get lighter or darker, children can grasp the nuances of color variations and understand the concept of gradients.
-
Textures and Patterns
Beyond just color recognition, introducing textures and patterns can stimulate a child’s tactile senses. Using textured papers, fabrics, or even incorporating raised patterns not only adds a sensory dimension but also aids in distinguishing between similar colors.
-
Assisting Color-blind Children
For children with color blindness, the challenge of color recognition can be daunting. To assist them, integrate distinct patterns with colors. For instance, a red tablet could have vertical stripes, while a green one might have polka dots. This approach ensures that even if the colors aren’t discernible, the patterns can aid in differentiation.
-
Safety First
Safety should always be a priority. Ensure that you opt for non-toxic, child-safe materials when crafting your tablets. Once they’re ready, store them in a secure location, especially away from toddlers or infants who might be inclined to put objects in their mouths.
Incorporating DIY Color Tablets into Montessori Learning
- Introduction and Familiarization: Once your tablets are ready, it’s time to weave them into your child’s learning journey. Begin by familiarizing your child with the tablets, allowing them to touch, feel, and explore them without any structured activity.
- Engaging in Color Matching: As they get comfortable, initiate simple color matching exercises. Present a color and ask your child to find its match among the tablets.
- Deepening Understanding with Gradients: As their confidence grows, introduce the gradient tablets and challenge them to arrange them in order of shade.
- Grouping and Categorization: Create games that require them to group tablets based on color families or textures. This not only reinforces color recognition but also encourages critical thinking.
- Adaptable Montessori Learning: The beauty of Montessori learning is its adaptability. As your child’s skills progress, invent new games or challenges, ensuring the learning process remains dynamic and engaging.
Helpful Tips and Alternatives
-
Choosing the Right Shade
When selecting paint color samples for your DIY project, it’s beneficial to opt for more vibrant or darker shades. This ensures that each color stands out distinctly, especially when the tablets are placed next to each other, aiding in clear differentiation.
-
Versatile Bases
While wooden tablets are commonly recommended, they aren’t the only option. If you find them hard to come by, consider alternatives like foam boards, durable cardstock, or even thread spools. The primary objective is to have a robust and flat surface that can effectively display the color samples.
-
Personal Touches
While Montessori education does have its set of traditional colors, remember that this DIY project offers room for personalization. Don’t hesitate to incorporate colors that you or your child find appealing. Tailoring the learning tools to your child’s preferences can make the educational journey even more engaging and meaningful.