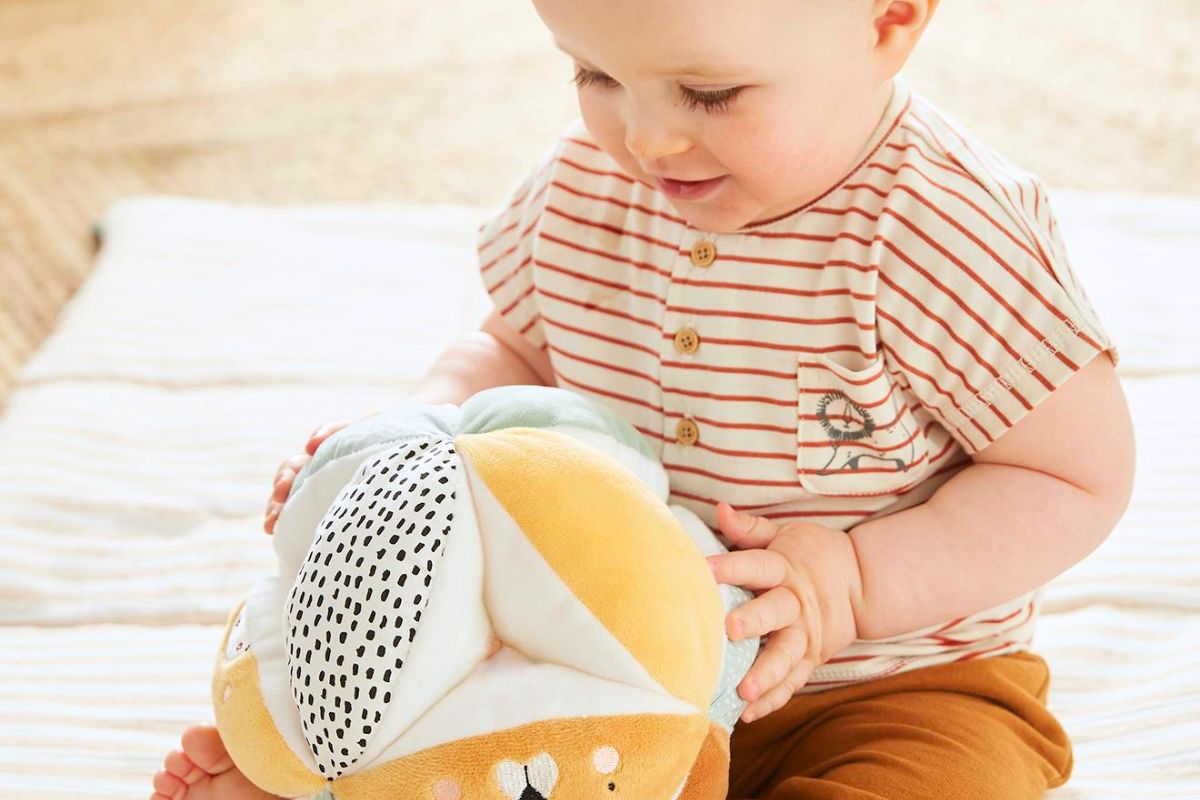
Sensory overload. In the world of Montessori, these amazing tools called “sensory balls” (or puzzle balls!) aren’t just toys, they’re development powerhouses. Imagine a ball that tickles tiny fingers with different textures, keeps curious minds busy figuring out its secret. Plus, the best part? You can create your own DIY Montessori fabric sensory ball for a fraction of the price!
Here’s how to create your own Montessori fabric sensory ball with this step-by-step guide.
Step-By-Step Guide To Make A Montessori Sensory Ball At Home
What You’ll Need
- Three different colored fabrics (preferably cotton or flannel for softness)
- Sewing machine or needle and thread
- Scissors
- Measuring tape or ruler
- Polyester stuffing or any soft filling
- Pins
- Marker or chalk
Step-by-Step Instructions
1. Cutting the Fabric
Before you begin, ensure you have a clean, flat surface to work on. Choose a fabric that’s soft yet durable. Start by cutting out 12 segments from your chosen fabric. Each segment should resemble an oval shape, measuring approximately 8 inches in length and 4 inches in width. If you’re unsure about the uniformity of your segments, consider creating a template from cardboard. This template can be traced onto the fabric, ensuring each segment is identical.
2. Pairing and Pinning
Now, let’s add some vibrancy to the ball! Pair the segments in twos, mixing the colors to create a visually appealing look. Once paired, place the right (or front-facing) sides of the fabric together. This ensures the seams remain inside once turned right side out. Pin the segments along the curved edge, but remember to leave the straight ends open. This will allow for stuffing later on.
3. Sewing the Segments
With your sewing machine or needle and thread, sew along the pinned edge of each paired segment. Ensure you leave a small seam allowance (about 1/4 inch) for a neat finish. Once sewn, turn the segments right side out, revealing the clean seam.
4. Stuffing
It’s time to give your segments some volume! Lightly stuff each segment with polyester filling. The key is to ensure they remain flexible and not too firm, allowing for easy assembly later on.
5. Closing the Segments
After stuffing, you’ll notice the open ends of the segments. Fold these edges inward (about 1/2 inch) and sew them shut. This not only secures the stuffing inside but also provides a neat finish.
6. Assembling the Ball
The assembly begins with the top of the ball. Sew three segments together at their tips to form a circle. This trio will form the top. For the middle section, which is the main body of the ball, sew six segments together at their tips. This creates a longer circle, wrapping around the ball’s circumference. Lastly, sew the remaining three segments to form the bottom circle of the ball.
7. Putting it All Together
Now, let’s see the puzzle take shape! Attach the top circle (three segments) to the middle section. Ensure the segments are interwoven, creating the unique puzzle effect. Once the top is secure, repeat the process to attach the bottom circle to the middle section.
8. Final Touches
You’re almost there! Once all segments are sewn together, do a thorough check to ensure there are no open seams or gaps. If you feel a segment is under-stuffed or too firm, make a small cut, adjust the stuffing, and sew it back neatly. Your Montessori Sensory Puzzle Ball is now ready for play!
The Power of the DIY Montessori Sensory Ball
Creating your own Montessori puzzle ball isn’t just budget-friendly, it also allows for personalized learning. Choose fabrics with textures and colors your child loves, sparking their curiosity and encouraging them to explore the ball further.
But the benefits extend beyond aesthetics! This DIY project offers a treasure trove of developmental advantages:
- Tactile Stimulation: Imagine tiny fingers encountering a soft flannel segment, then a smooth satin one. The varied textures provide a sensory adventure, honing your child’s sense of touch and awareness of different textures.
- Motor Skill Development: The ball’s segmented design challenges little hands. Picking it up, squeezing the segments, and manipulating the pieces to form the puzzle all contribute to strengthening hand and finger muscles, promoting fine motor skill development.
- Cognitive Growth: What better way to foster problem-solving skills than a fun puzzle? As your child attempts to piece together the segmented ball, they’re actively engaging in critical thinking and cognitive development, a hallmark of the Montessori approach.
The Montessori sensory ball is a beautiful example of “learning by doing.” By creating your own, you’re not just providing a tool for sensory and cognitive development, you’re also engaging in a fun and fulfilling DIY project alongside your child. So, gather your materials, unleash your creativity, and get ready to unlock a world of playful learning together!