Creating a Montessori object permanence box at home can be a rewarding experience, allowing you to provide your child with a valuable learning tool while also indulging in a fun DIY project. If you’re keen on crafting this educational aid yourself, we’ve got you covered with a comprehensive step-by-step guide.
Understanding the Concept of Object Permanence
-
What is Object Permanence
This is a fundamental cognitive milestone in a child’s developmental journey. It refers to a child’s understanding that objects continue to exist even when they cannot be seen, heard, or otherwise sensed. This realization typically begins to develop in infants around the age of 4-7 months and is solidified by about 2 years of age.
-
The Role of the Montessori Object Permanence Box
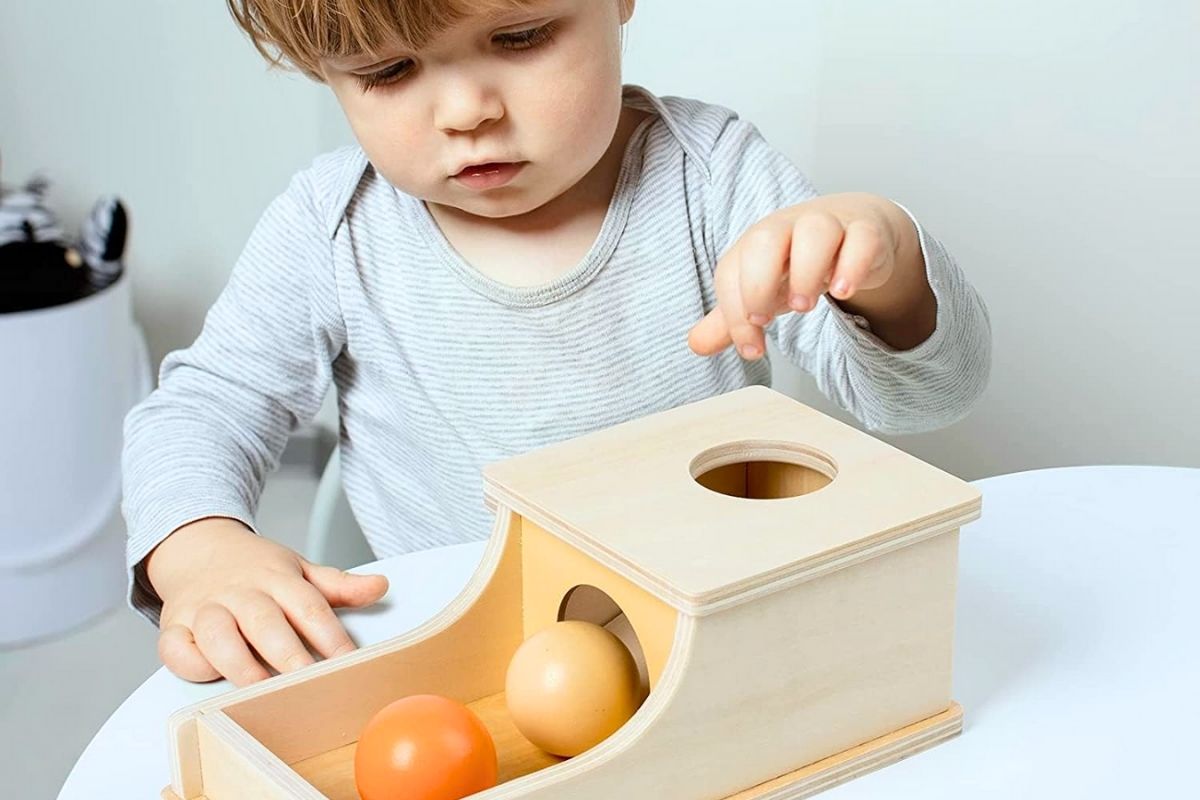
Aligned with this developmental milestone, the Montessori method incorporates tools designed to reinforce and strengthen a child’s grasp of object permanence. One such tool is the Montessori object permanence box. This simple yet effective educational aid is typically a wooden box with a hole on top and a tray or drawer in front.
When a child drops a ball or token into the hole, it momentarily disappears from view, only to reappear in the tray or drawer below. This action not only reinforces the concept of object permanence but also aids in developing hand-eye coordination and fine motor skills.
How To Make A Montessori-Inspired Object Permanence Box At Home
Materials
- A wooden box (preferably with a removable lid or hinged top)
- A small wooden ball or token
- A wooden tray or drawer
- A saw (for cutting the hole)
- Sandpaper (to smooth edges)
- Non-toxic wood glue or screws (for attaching the tray or drawer)
- Non-toxic paint or wood stain (optional for aesthetics)
- A ruler or measuring tape
- A pencil for marking
Instructions
- Preparation:
- Start by selecting a wooden box. It should be sturdy and large enough to house the tray or drawer comfortably.
- Choose a wooden ball or token that is small enough to drop through a hole but large enough not to be a choking hazard for the child.
- Cutting the Hole:
- Measure and mark the center of the box’s lid.
- Using the saw, cut a hole slightly larger than the diameter of the ball or token. Ensure the ball can pass through this hole easily.
- Smoothing Edges:
- Once the hole is cut, use sandpaper to smooth out any rough edges around it. This ensures the box is safe for the child to use.
- Attaching the Tray/Drawer:
- If using a tray: Attach it to the front of the box, ensuring it aligns directly under the hole. This can be done using wood glue or screws.
- If using a drawer: Ensure the drawer fits snugly inside the box and aligns directly under the hole. You might need to make adjustments to the drawer’s size or position.
- Painting/Staining (Optional):
- If you wish to paint or stain the box, ensure you use non-toxic products. Allow the paint or stain to dry thoroughly before letting a child use the box.
- Testing:
- Drop the ball or token through the hole to ensure it smoothly lands in the tray or drawer.
- Safety Check:
- Ensure there are no sharp edges or small detachable parts that could pose a hazard. Always supervise your child while they’re using the box.
Benefits of Wooden Ball Drop Box

- Understanding Object Permanence: The primary purpose of this box is to teach children the idea that objects continue to exist even when they can’t be seen, heard, or touched.
- Development of Fine Motor Skills: As children drop the ball or token into the hole and retrieve it, they are refining their hand-eye coordination and dexterity.
- Boosts Cognitive Development: The repetitive action of dropping the ball and seeing it reappear helps in strengthening neural pathways related to understanding cause and effect.
- Enhances Focus and Concentration: The child’s attention is drawn to the action of the ball disappearing and reappearing, aiding in the development of concentration.
- Fosters Independence: The design of the box encourages self-directed play. Children can engage with the box on their own, fostering a sense of independence.
- Provides a Sense of Achievement: Successfully retrieving the ball or token from the box gives the child a sense of accomplishment, boosting their confidence.
How To Use DIY Montessori Object Permanence Box
Using the wooden object permanence box is not just about teaching a single concept; it’s about fostering a child’s curiosity, developing their cognitive skills, and providing them with a sense of achievement and understanding about the world around them. Here’s how to use it:
1. Introduction
- Begin by introducing the box to the child in a quiet environment, free from distractions.
- Sit beside the child, placing the box in front of them.
2. Demonstration
- Slowly and deliberately, take the ball or token and show it to the child.
- Drop the ball into the hole in the box, allowing it to roll into the tray or drawer.
- Open the tray or drawer (if it’s not transparent) to reveal the ball, emphasizing that the ball is still there even though it disappeared for a moment.
3. Guided Practice
- Hand the ball to the child and encourage them to drop it into the hole themselves.
- If they struggle, gently guide their hand or demonstrate again.
4. Independent Play
- Once the child understands the concept, allow them to play with the box independently.
- They will likely enjoy dropping the ball and retrieving it multiple times, reinforcing the idea of object permanence.
5. Observation
- Watch the child as they play. Their repeated actions and reactions can provide insights into their understanding and cognitive development.
6. Extend the Activity
- After the child is familiar with the box, you can introduce variations:
- Use different objects that fit into the hole.
- Play peek-a-boo games, emphasizing the idea that things still exist even when out of sight.
7. Encourage Verbalization
- As the child plays, ask open-ended questions like, “Where did the ball go?” or “Can you find the ball?” This encourages them to think and verbalize their understanding.
8. Regular Play
- Incorporate the Object Permanence Box into the child’s regular play routine. Repetition is key to reinforcing the concept.